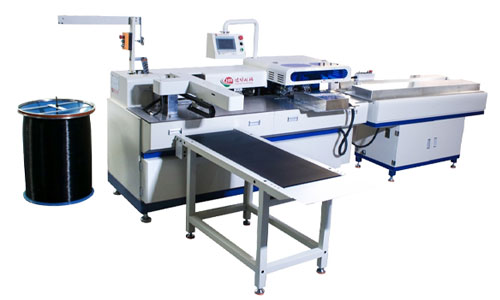
Although many enterprises have upgraded their equipment to automatic binding machines, many users still use manual binding machines and often encounter operational problems. Below, Hengbo introduces the operating instructions for manual notebook binding machines.
First install the handle: Fit the factory‑supplied handle onto the right‑side square shaft of the notebook binder and fasten it with screws. Read the manual carefully before operation and confirm the maximum paper capacity.
Adjust paper margin via the adjusting screw rod at the rear of the machine. Larger wire‑O coil diameter requires larger margin; smaller coil diameter requires smaller margin. Set suitable margin according to your actual needs.
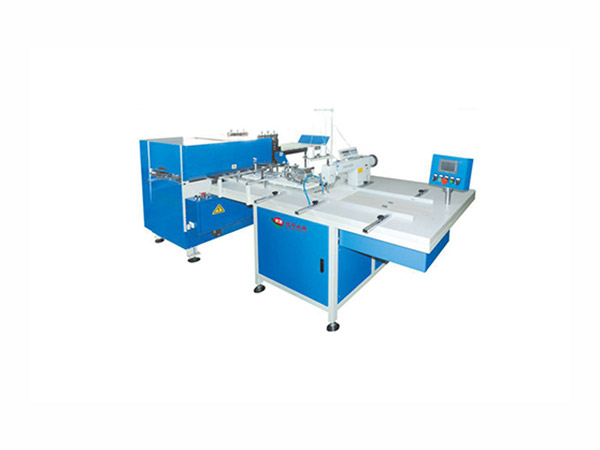
Prepare paper for punching. Align paper neatly against the positioning block, feed paper flat into the machine until it stops. Hold paper with left hand, press the handle down with right hand until the blade cuts through paper, then lift the handle upward.
Fit stitching needles before binding. Loosen the locking screw on the needle holder and remove the holder. Hang the hook at needle tail onto the needle mounting hole and keep it vertical. Replace the needle holder back onto the stitch rod, then tighten its locking screw.
Final binding step: Turn the press‑foot handwheel clockwise to lift the press‑foot. Place documents under the press‑foot and release the handwheel for automatic clamping. Rotate the handwheel counter‑clockwise approx. 180° to lock. Turn the stitch‑needle handle counter‑clockwise to drive needles through materials. Once the thread arm hooks thread into needle slot, lift the handle. The binding thread will be locked as needles retract. Release the press‑foot handwheel clockwise to finish one stitch. Repeat the above steps for continuous binding.